
Time to Grow: Garlic
Well, unless you're a vampire. Then it's onion seeds for you.
Good news everyone! with garlic’s extremely long growing season, there is a lot of buffer to when you can plant your garlic. October through December, actually - as long as it’s a few weeks before your first frost. BUT, a long buffer also means a lot to do to prep for it and a longer time to keep them happy. so let’s break down how to keep garlic fed for the next few months.
step 1: compost
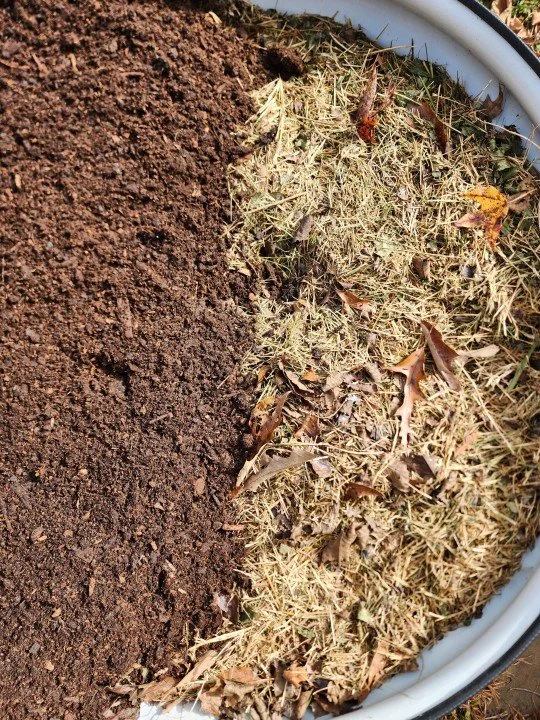
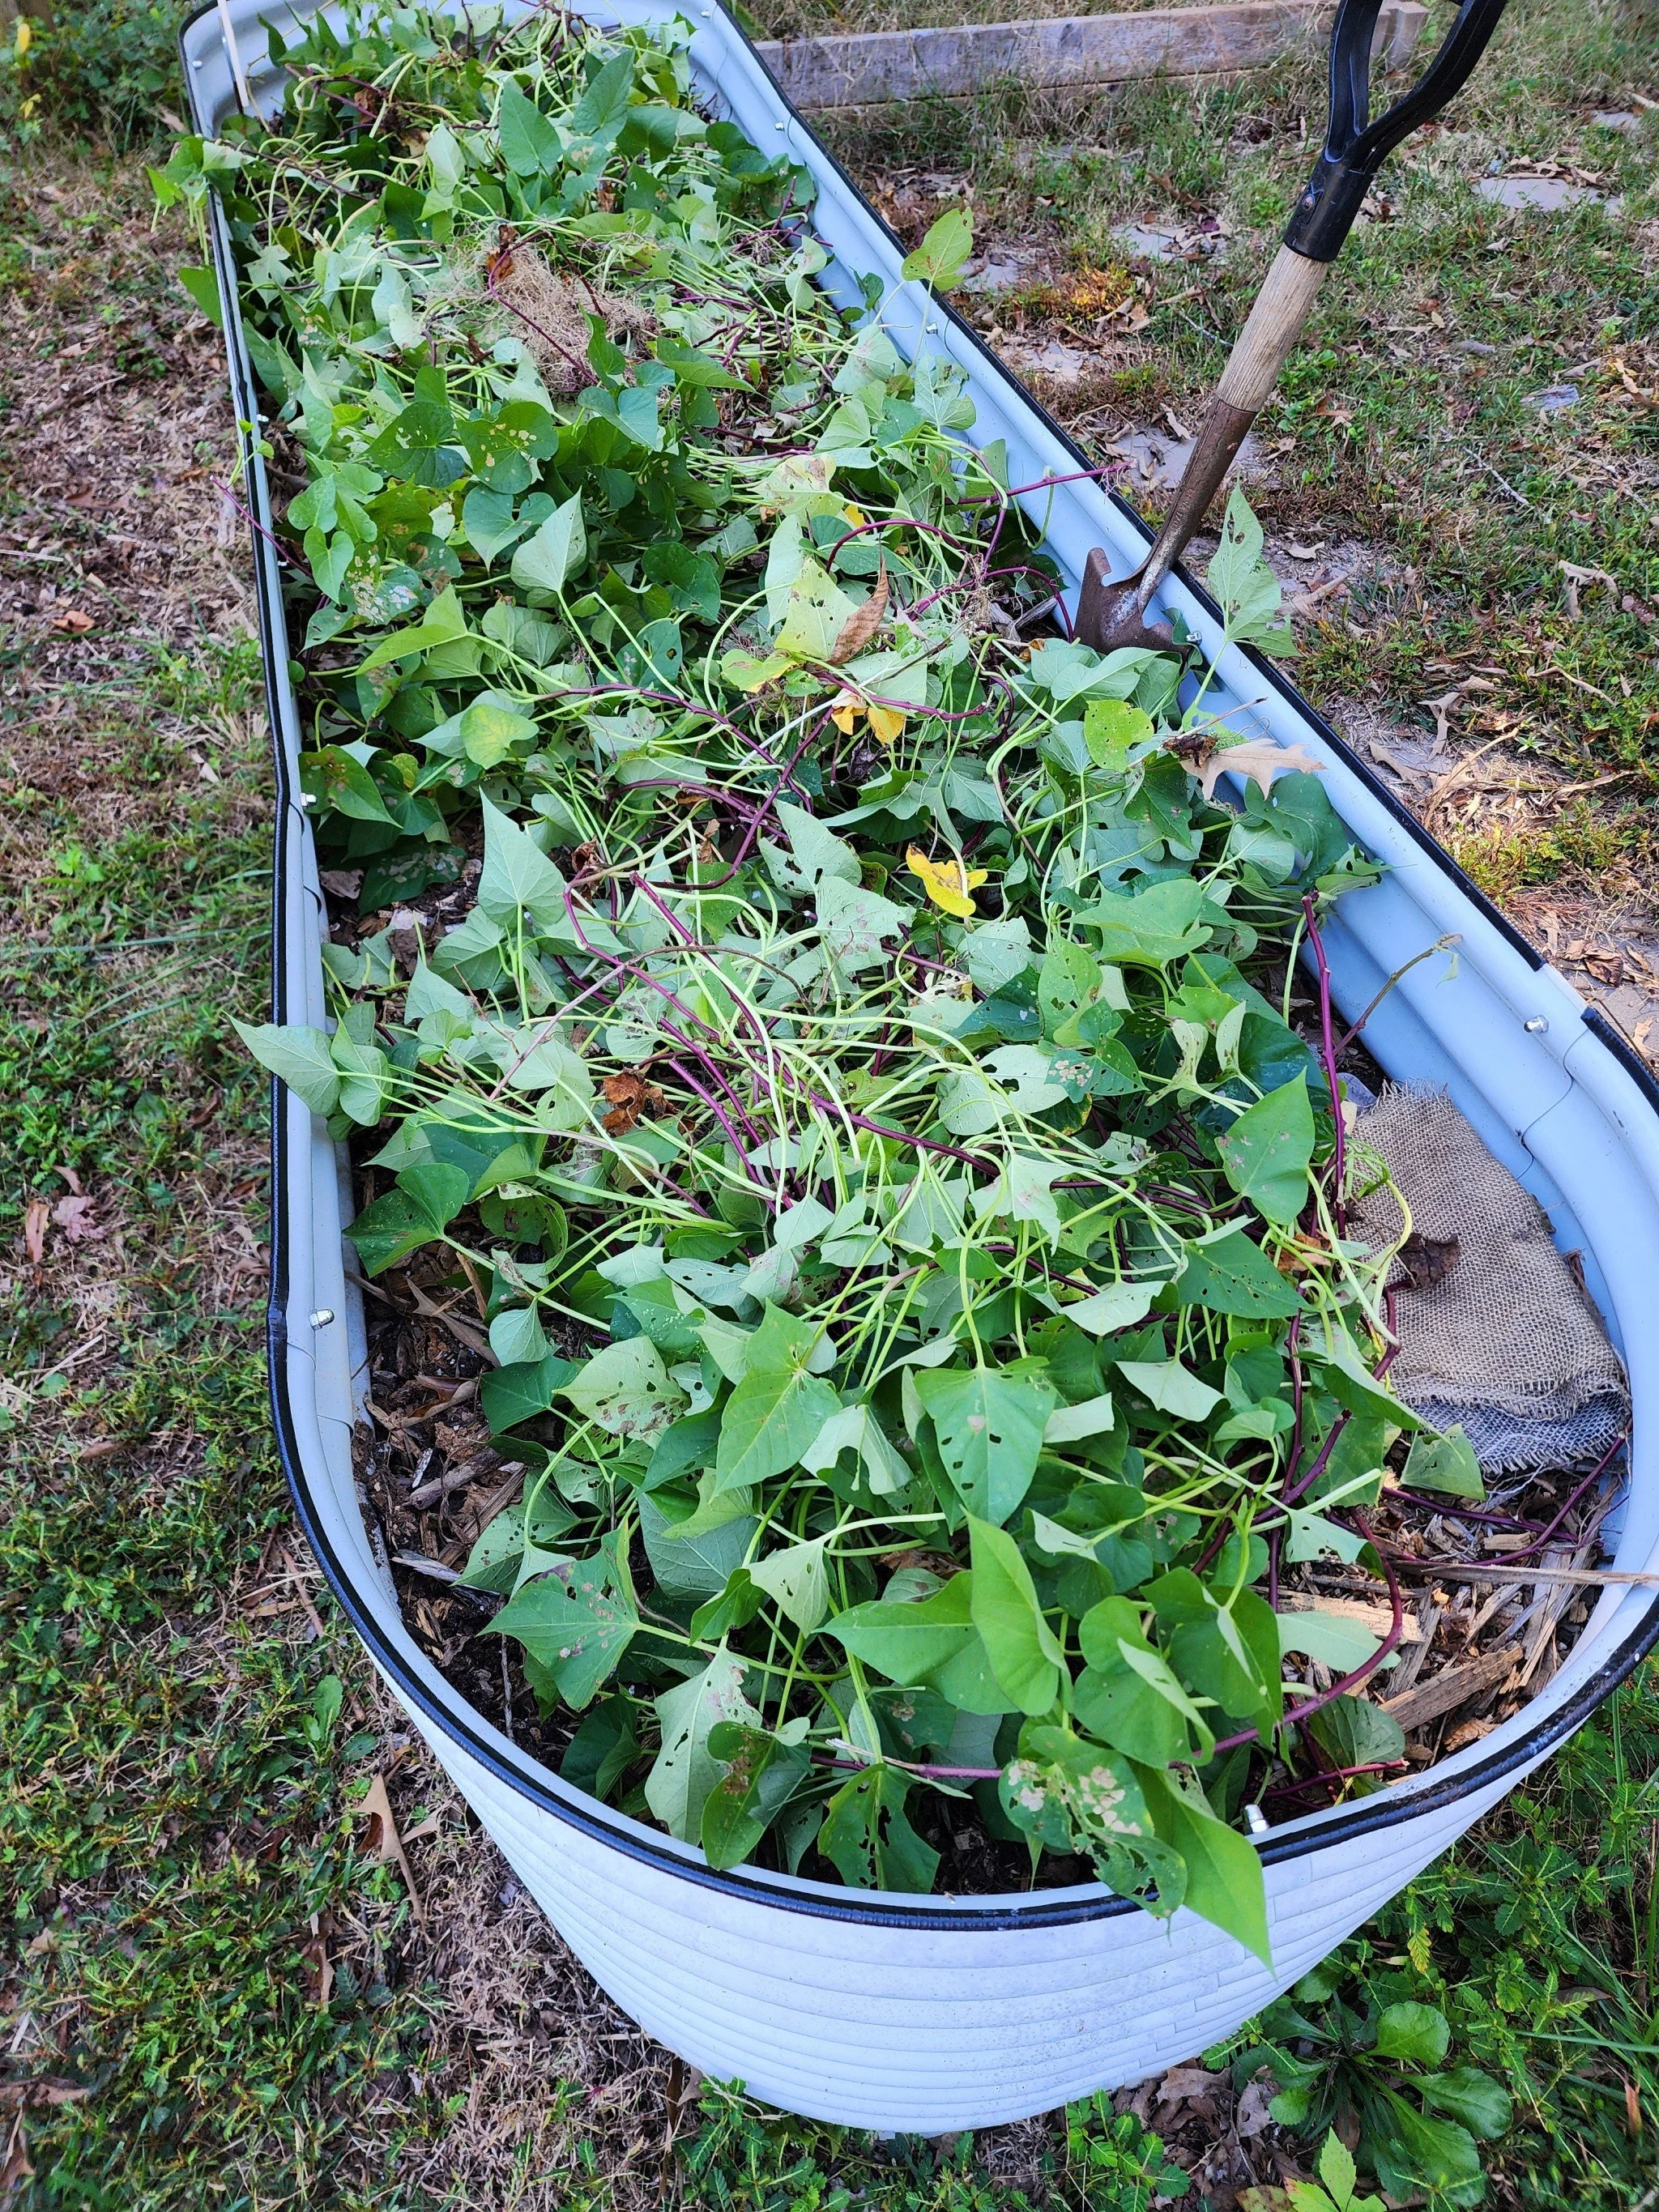
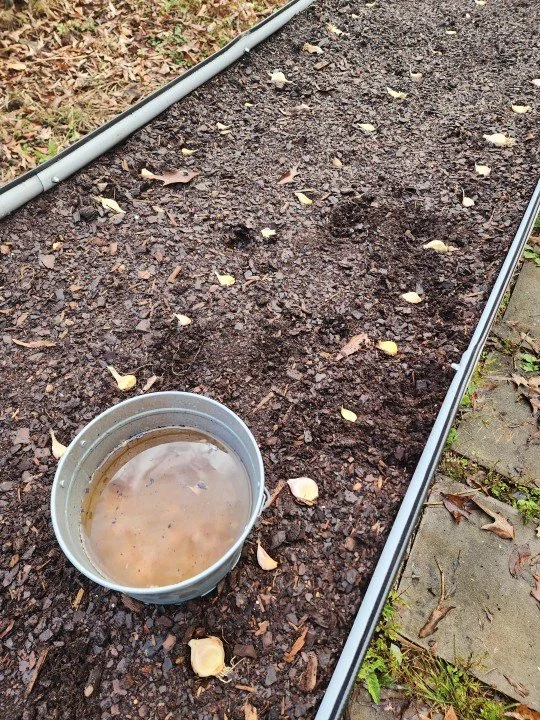
Because of garlic’s long growing period, it makes them heavy feeders of nutrients. along this growing journey will be many steps to giving them fresh nutrients, but step one is making sure they get a small but steady supply as they grow. Wherever you plan to plant the garlic, top it off with a small compost lasagna. since this bed in the photo is an established bed (my oldest bed, actually) I kept my compost lasagna ratio a little on the lighter weight side-of-things. very thin layer of tree mulch on top of the old soil, kind of mixed in even. Then a layer of green (I took the sweet potato vines as I harvested the potatoes in the bed next to this one) and waited about 2 weeks to let them de-moisturize and also because of health reasons but whatever.
On top of that, I added a mix of green and brown grass cuttings, some fallen leaves thrown in there too. This was the thickest layer at about 3 inches. The penultimate layer is about 2-ish inches of a mix of old soil and peat moss. After planting the bulbs, I added the thinnest layer of leaf mulch, but this is not necessary. The only reason I added this last layer is because we have been going through a prolonged drought, so I wanted a layer that will keep that soil moist as long as possible.
step 2: sourcing bulbs
As with any and all seeds, sourcing where you get your garlic bulbs is quintessential to the perfect harvest in the spring. You don’t want to use up all this space in the garden for so many months only for the harvest to spoil!
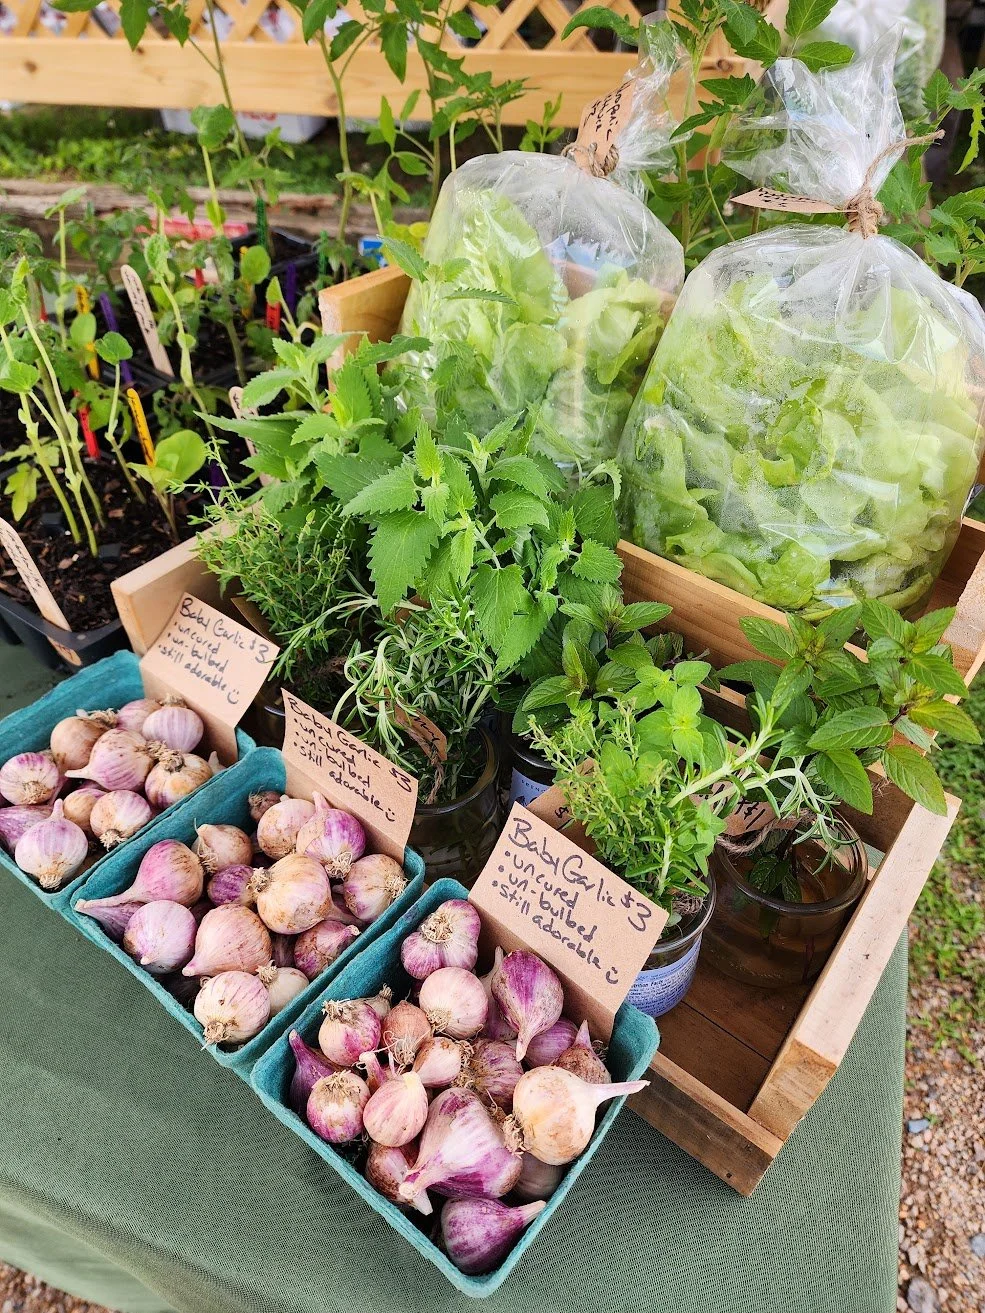
The best spot to source garlic bulbs from your favorite farmer at the farmers’ market. They’re local to you, and they always grow too many. I have never had a farmer not have the biggest grin on their face when I say I’ll take a couple of pounds of garlic off their hands!
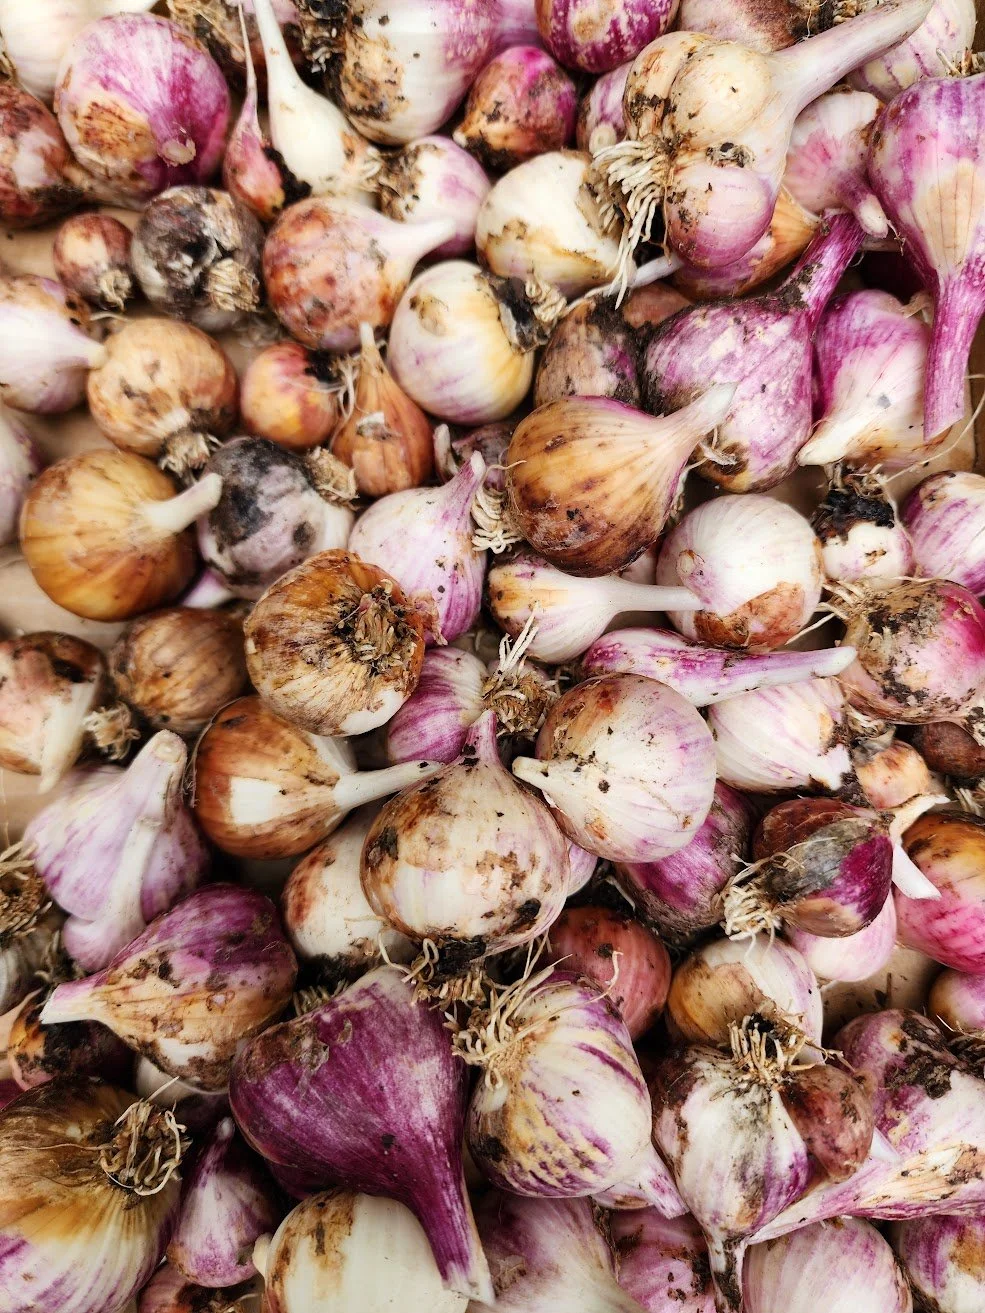
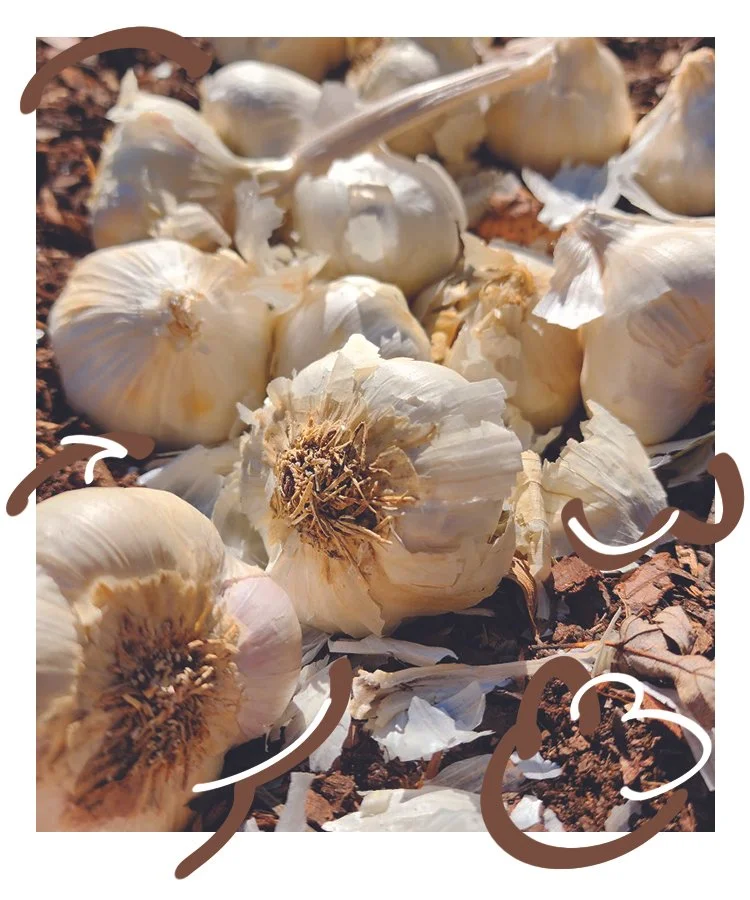
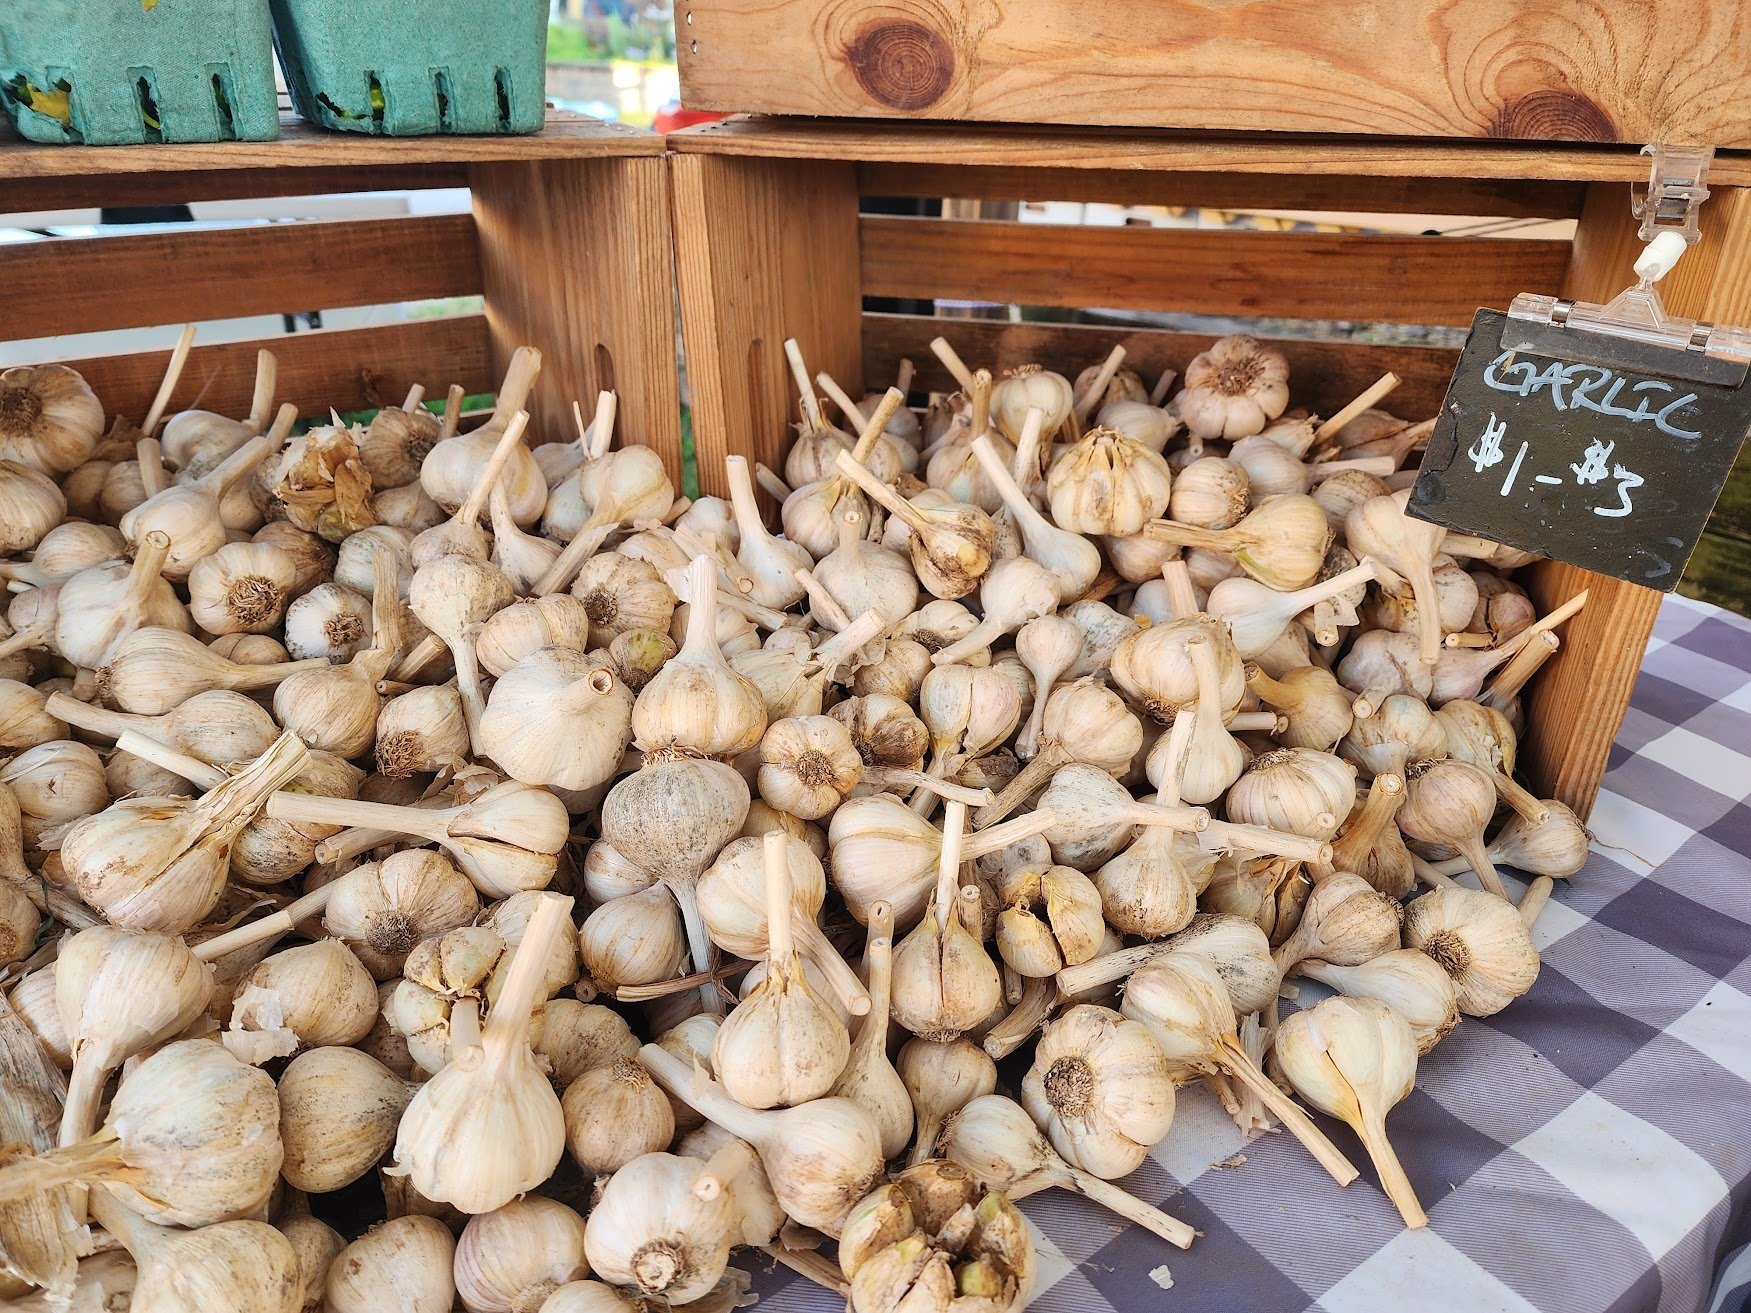
This year I did that with my friend Farmer Ben at Garden Window Farm in Denton, North Carolina. He grew Inchelium Red Softneck Garlic, and I processed and packaged them up for y’all to enjoy. Check out more information about this variety on my website:
Inchelium Red
Softneck Garlic
“What’s the difference between
softneck and hardneck varieties?”
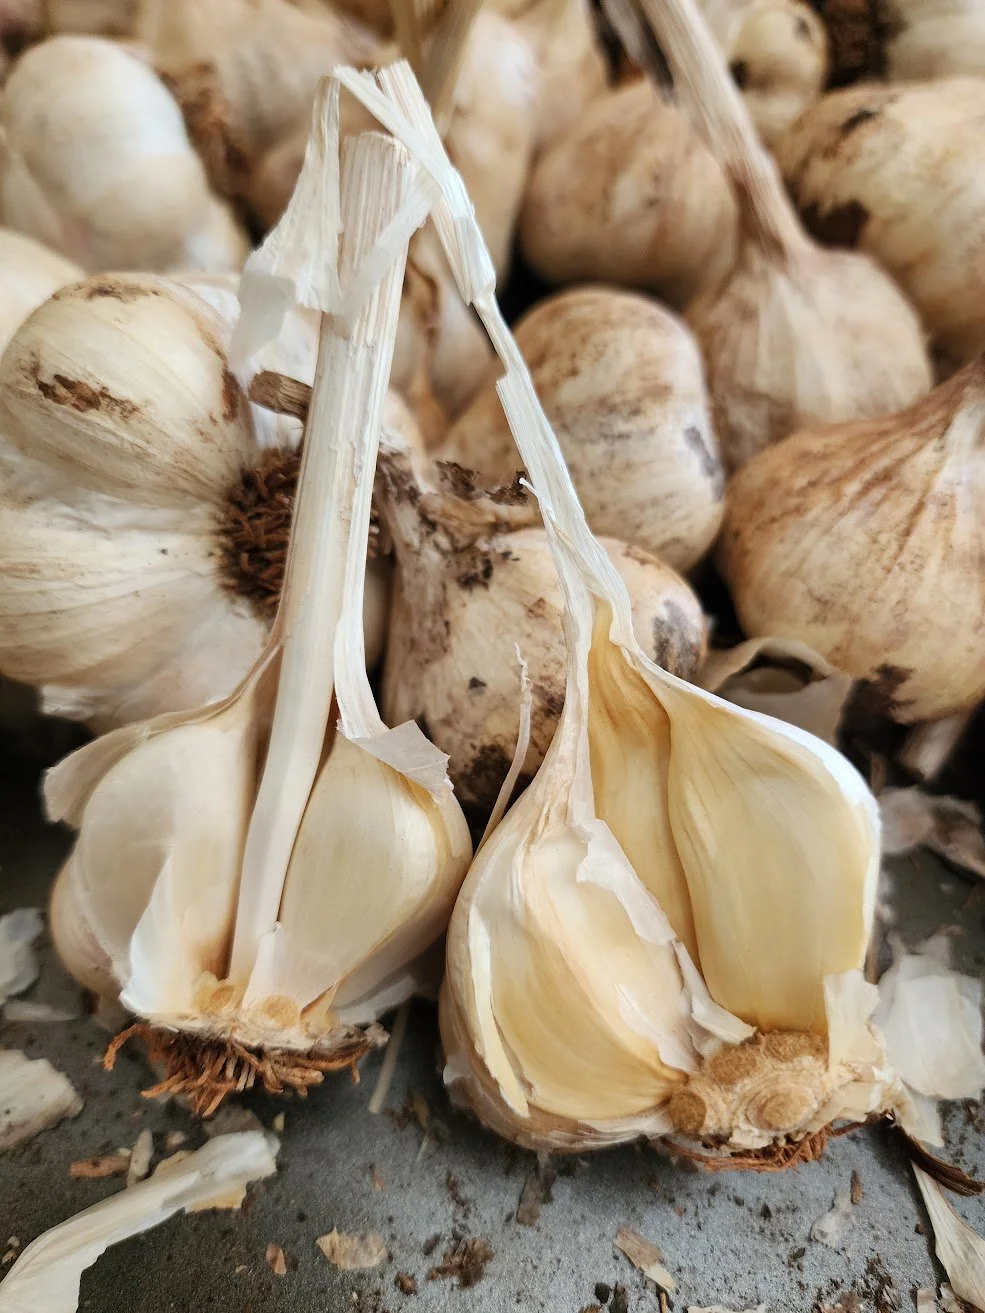
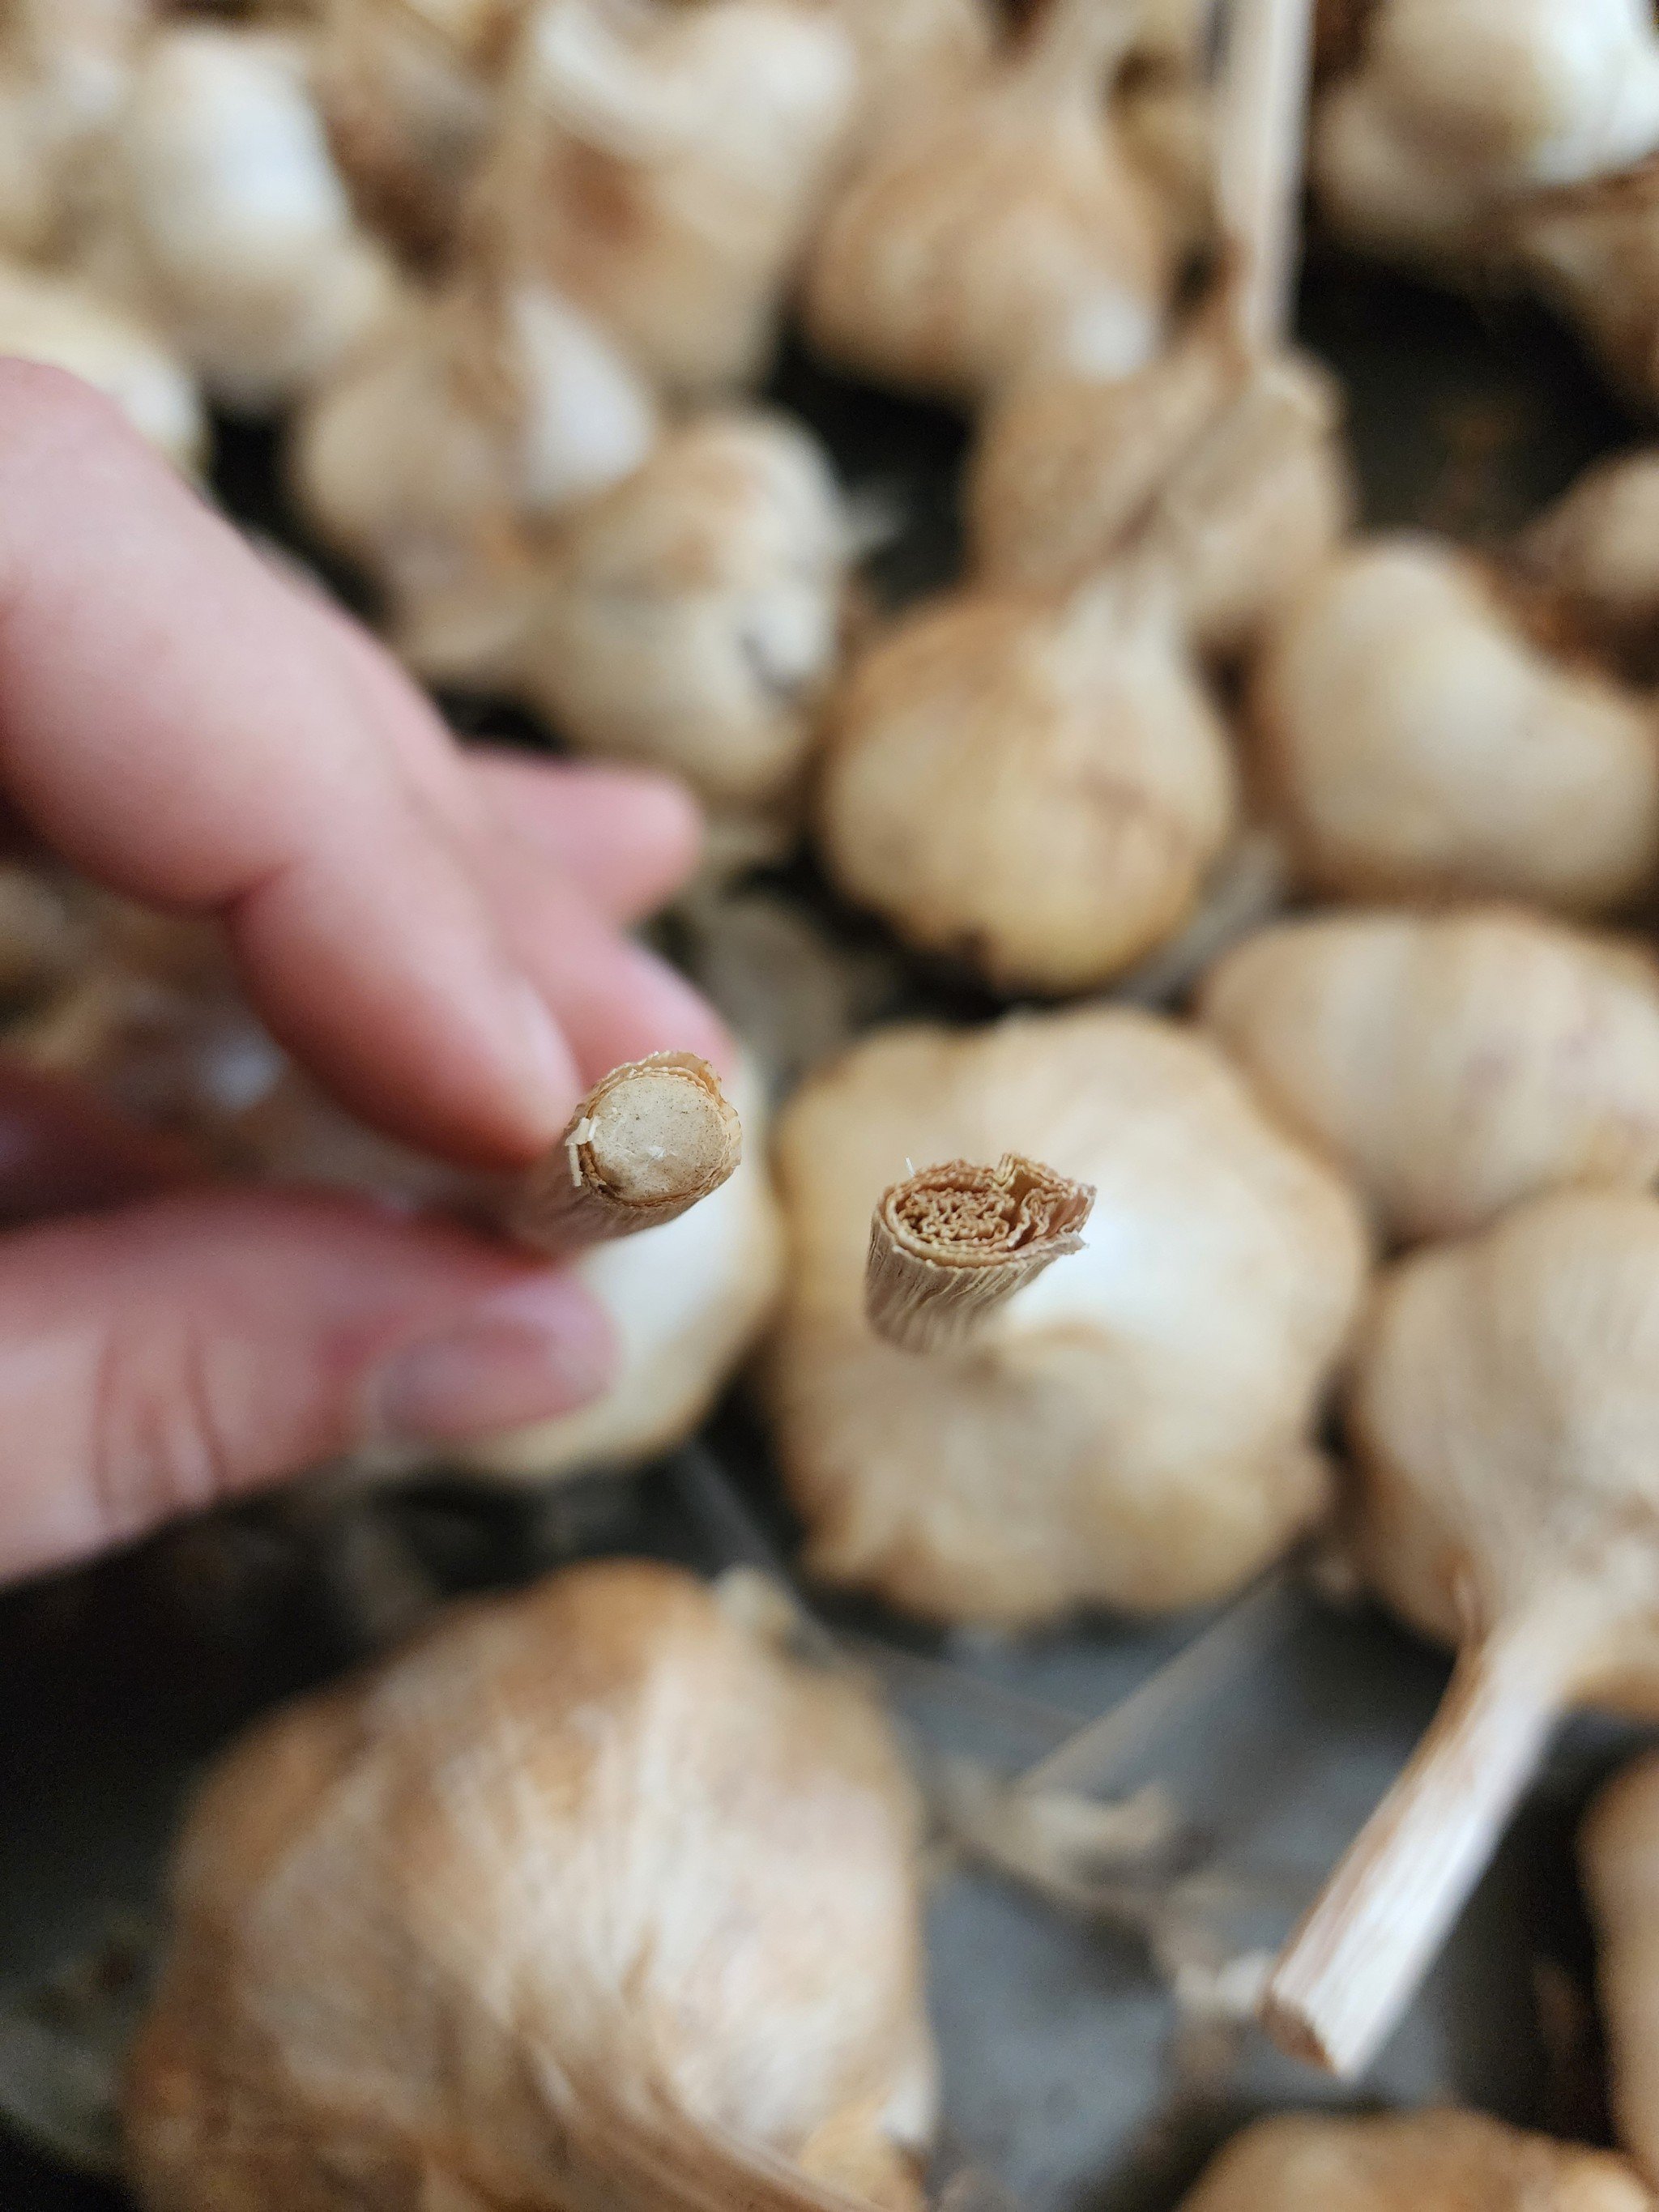
Hardneck has a stem right down the middle, having a dedicated neck. These varieties are considered better for northern, colder winters yet worse for long term storage. They produce a “scape” in the springtime - a fancy term for the garlic simply attempting to go to seed. Yes, garlic does go to seed, but that’s a topic for another day.
Softneck has all the cloves pointing up and layered like an onion, considering it soft. They are known to contain more cloves-per-head, and better to grow in southern or warmer winters. They’re harder to cure for long-term storage, but if done properly they will store for longer than most hardneck varieties of garlic.
Which one you choose to grow is legitimately up to you and your personal preference.
step 3: fertilizer soup
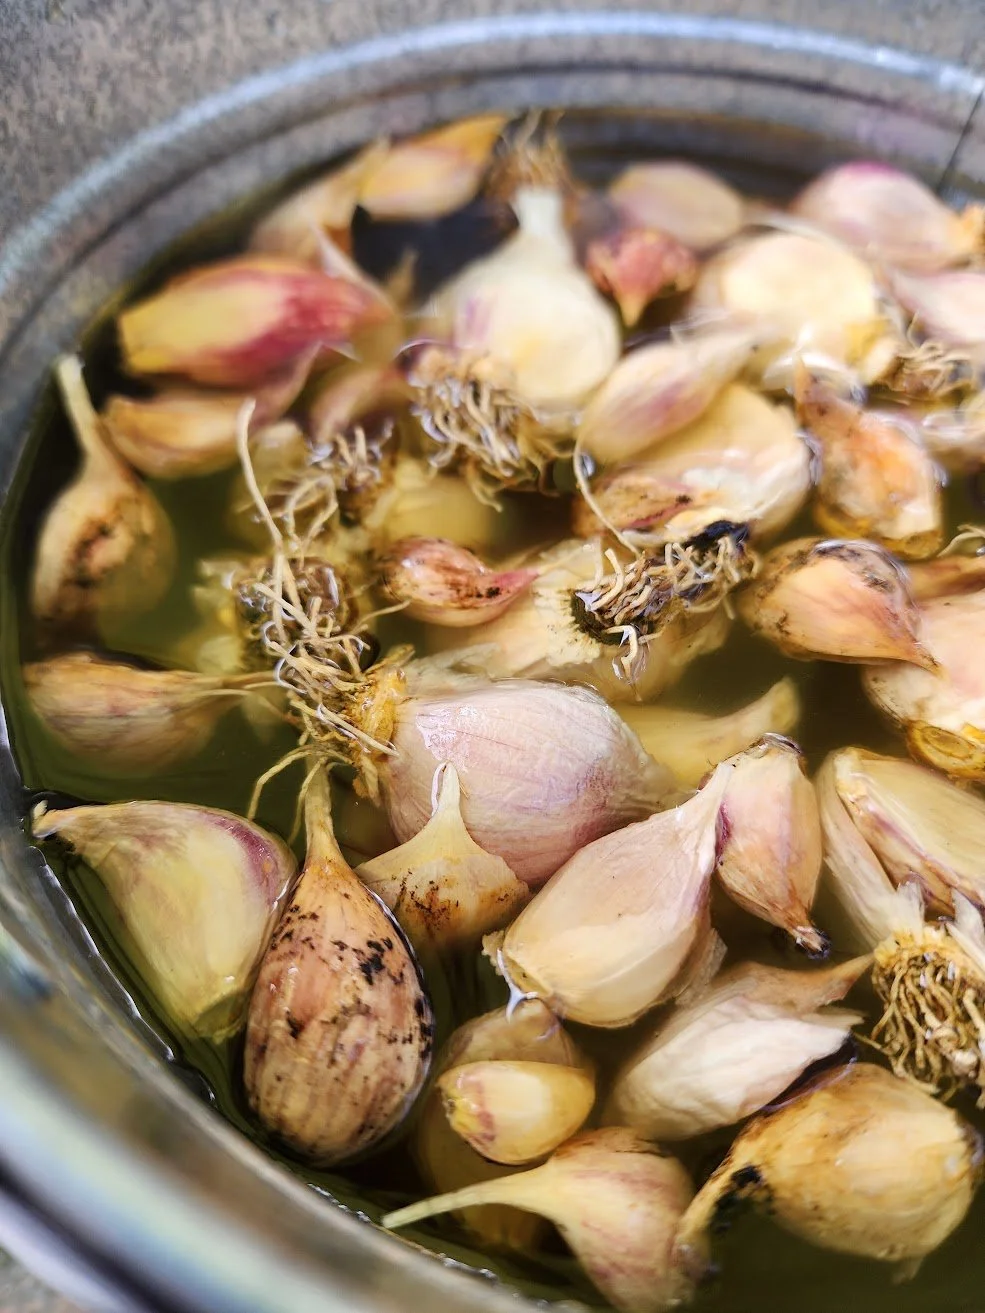
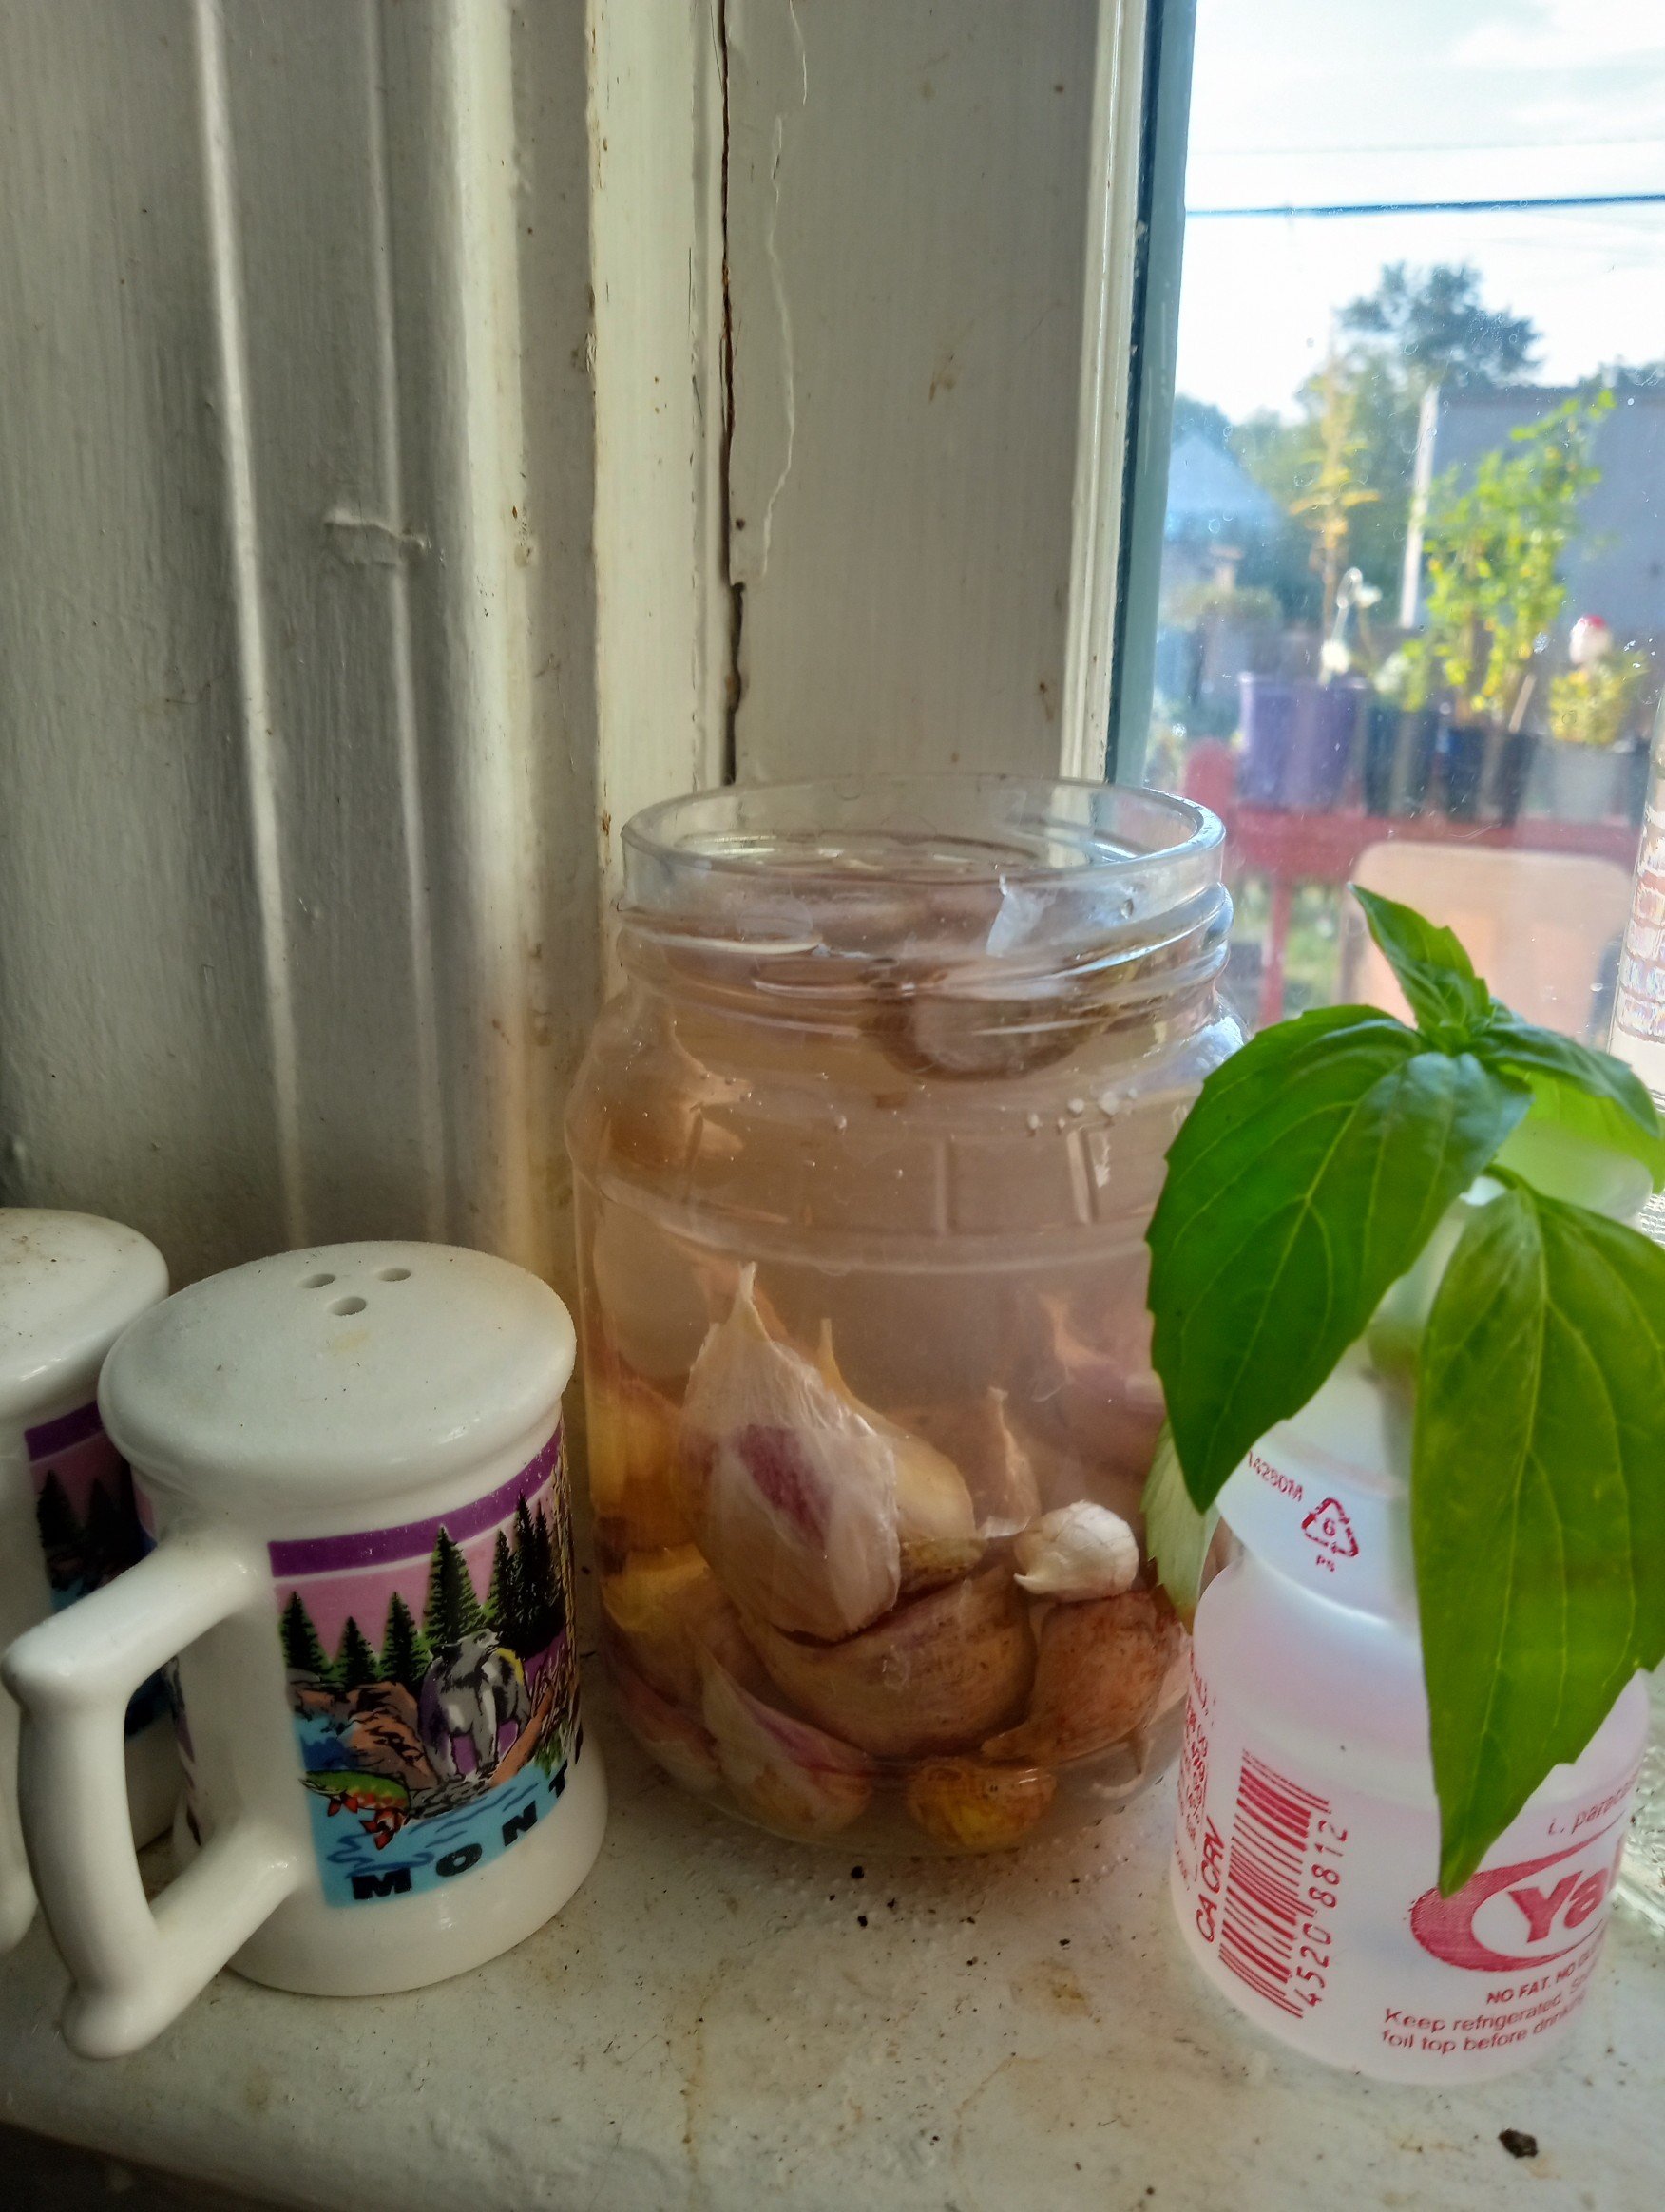
Now for me, fertilizer soup is a diluted fish emulsion solution. That’s it, mostly because I am lazy and also because it’s the most common method. A friend of mine, Oliver, (who happens to also be the Executive Director of Tomorrow’s Garden RVA) tried a banana peel fertilizer soup when he started his garlic (Oliver got the bulbs from my shop, so to be honest only difference so far is the fertilizer soup recipe. He said his turned out great, even though he had to pull early due to moving house.) Oliver’s garlic has already started to pop up, so that means the fertilizer soup did it’s job - penetrate the tough outer skin the garlic bulbs got when curing and gave them a burst of energy to get things growing.
As long as it’s high in potassium, you’ll be good to go. Oh, and make sure it soaks for 24 hours. That cured skin is pretty thick.
step 4: companion planting
While garlic is a heavy feeder, that doesn’t mean they’re introverts. A lot of websites will tell you garlic deters pests from other plants, but legit for real right now go out to your garden and tell me if you smell garlic once it’s planted. You don’t, and the bugs sure don’t. So ignore that part and plant winter vegetables alongside your garlic that wants nitrogen AND grows above the soil line. Garlic wants all the potassium, and you don’t want to disturb the garlic bulbs under the soil line. Winter vegetables you can harvest by cutting are the best.
Last year I had pink celery that was for both harvesting and letting go to seed in one bed, so no disturbance there. I haven’t figured out what the companion plant will be this year in the garlic bed, but other choices are lettuce, cabbages, collards, broccoli, kale... anything leafy, really.
OK, remember when I said make sure the companions are ones where you can harvest above the soil line?? It’s because once you do so, those roots left behind will decompose and give the garlic another slow feeding of potassium! The plant gobbled up all the nitrogen, and because their roots are relatively thin they are quick to compost and add potassium back into the soil. Crazy, eh??
final step: waiting
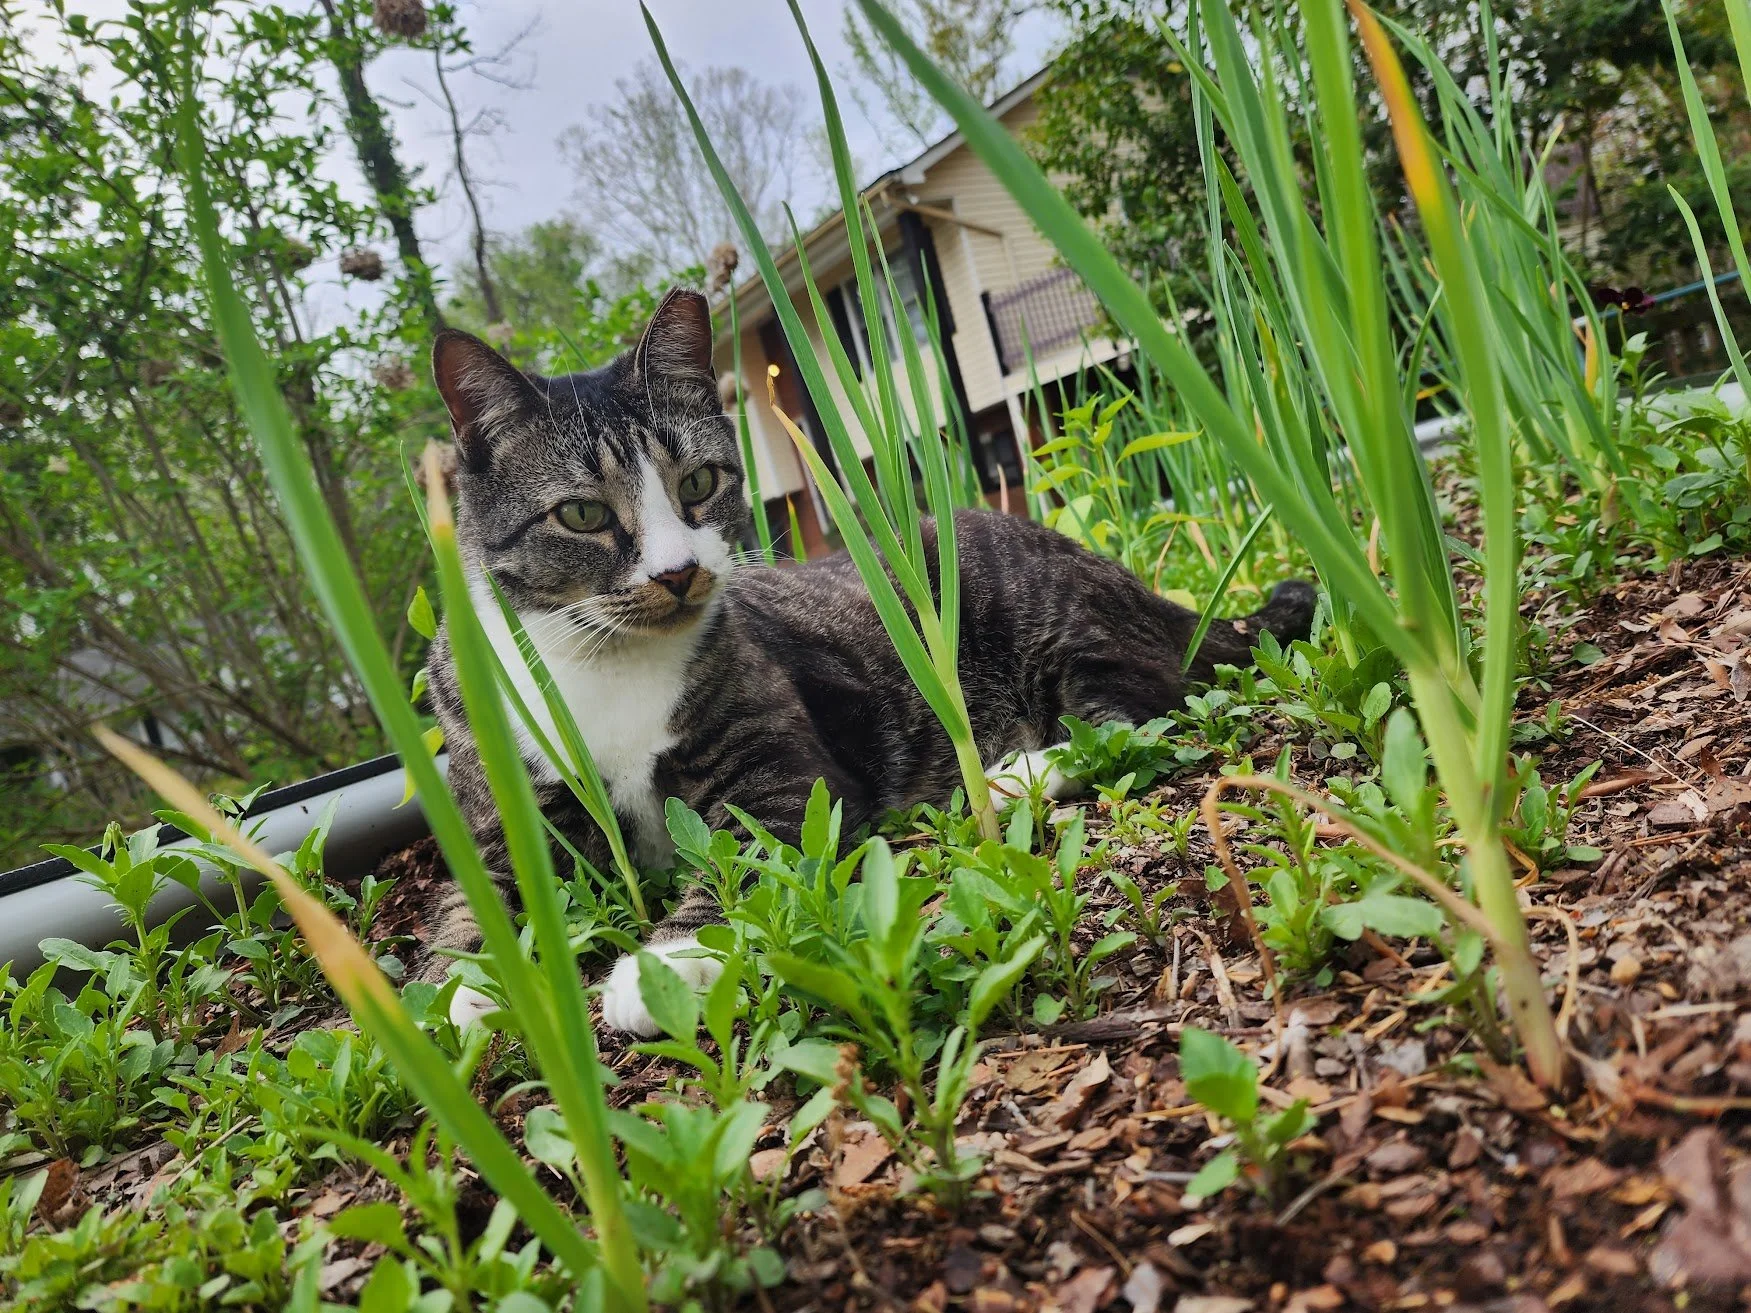
And honestly... this is the hardest step. Especially for me, the world’s most impatient farmer. But the good news is that while you wait there are two more key points of when to refeed your garlic:
Between bits of heavy frost - typically around end of January or February - water the garlic with a ton of that fertilizer soup recipe you used before. The bulbing hasn’t started yet, but this will keep those roots growing despite the soil temperature. And if you are more up north than me, add a thick layer of mulch or straw to help keep that soil temperature from going too far past freezing.
The last time you’ll want to feed your garlic will be the end of winter. This is when the garlic bulbs really begin to bulbate... bulbge? bulb out?? Either way. To get the biggest bulbs possible, you want to give them the highest dosage if potassium possible - and that’s in the form of ️potash️ which... turns out to be just a fancy word for wood ash. Burn some wood in a fireplace or firepit, burn your unpaid medical bills, burn your student loan reminders, burn anything that is paper or wood. Don’t mix with anything else, and REALLY DO NOT use the leftover charcoal from a grill. This potash needs to be as pure to potassium as possible.
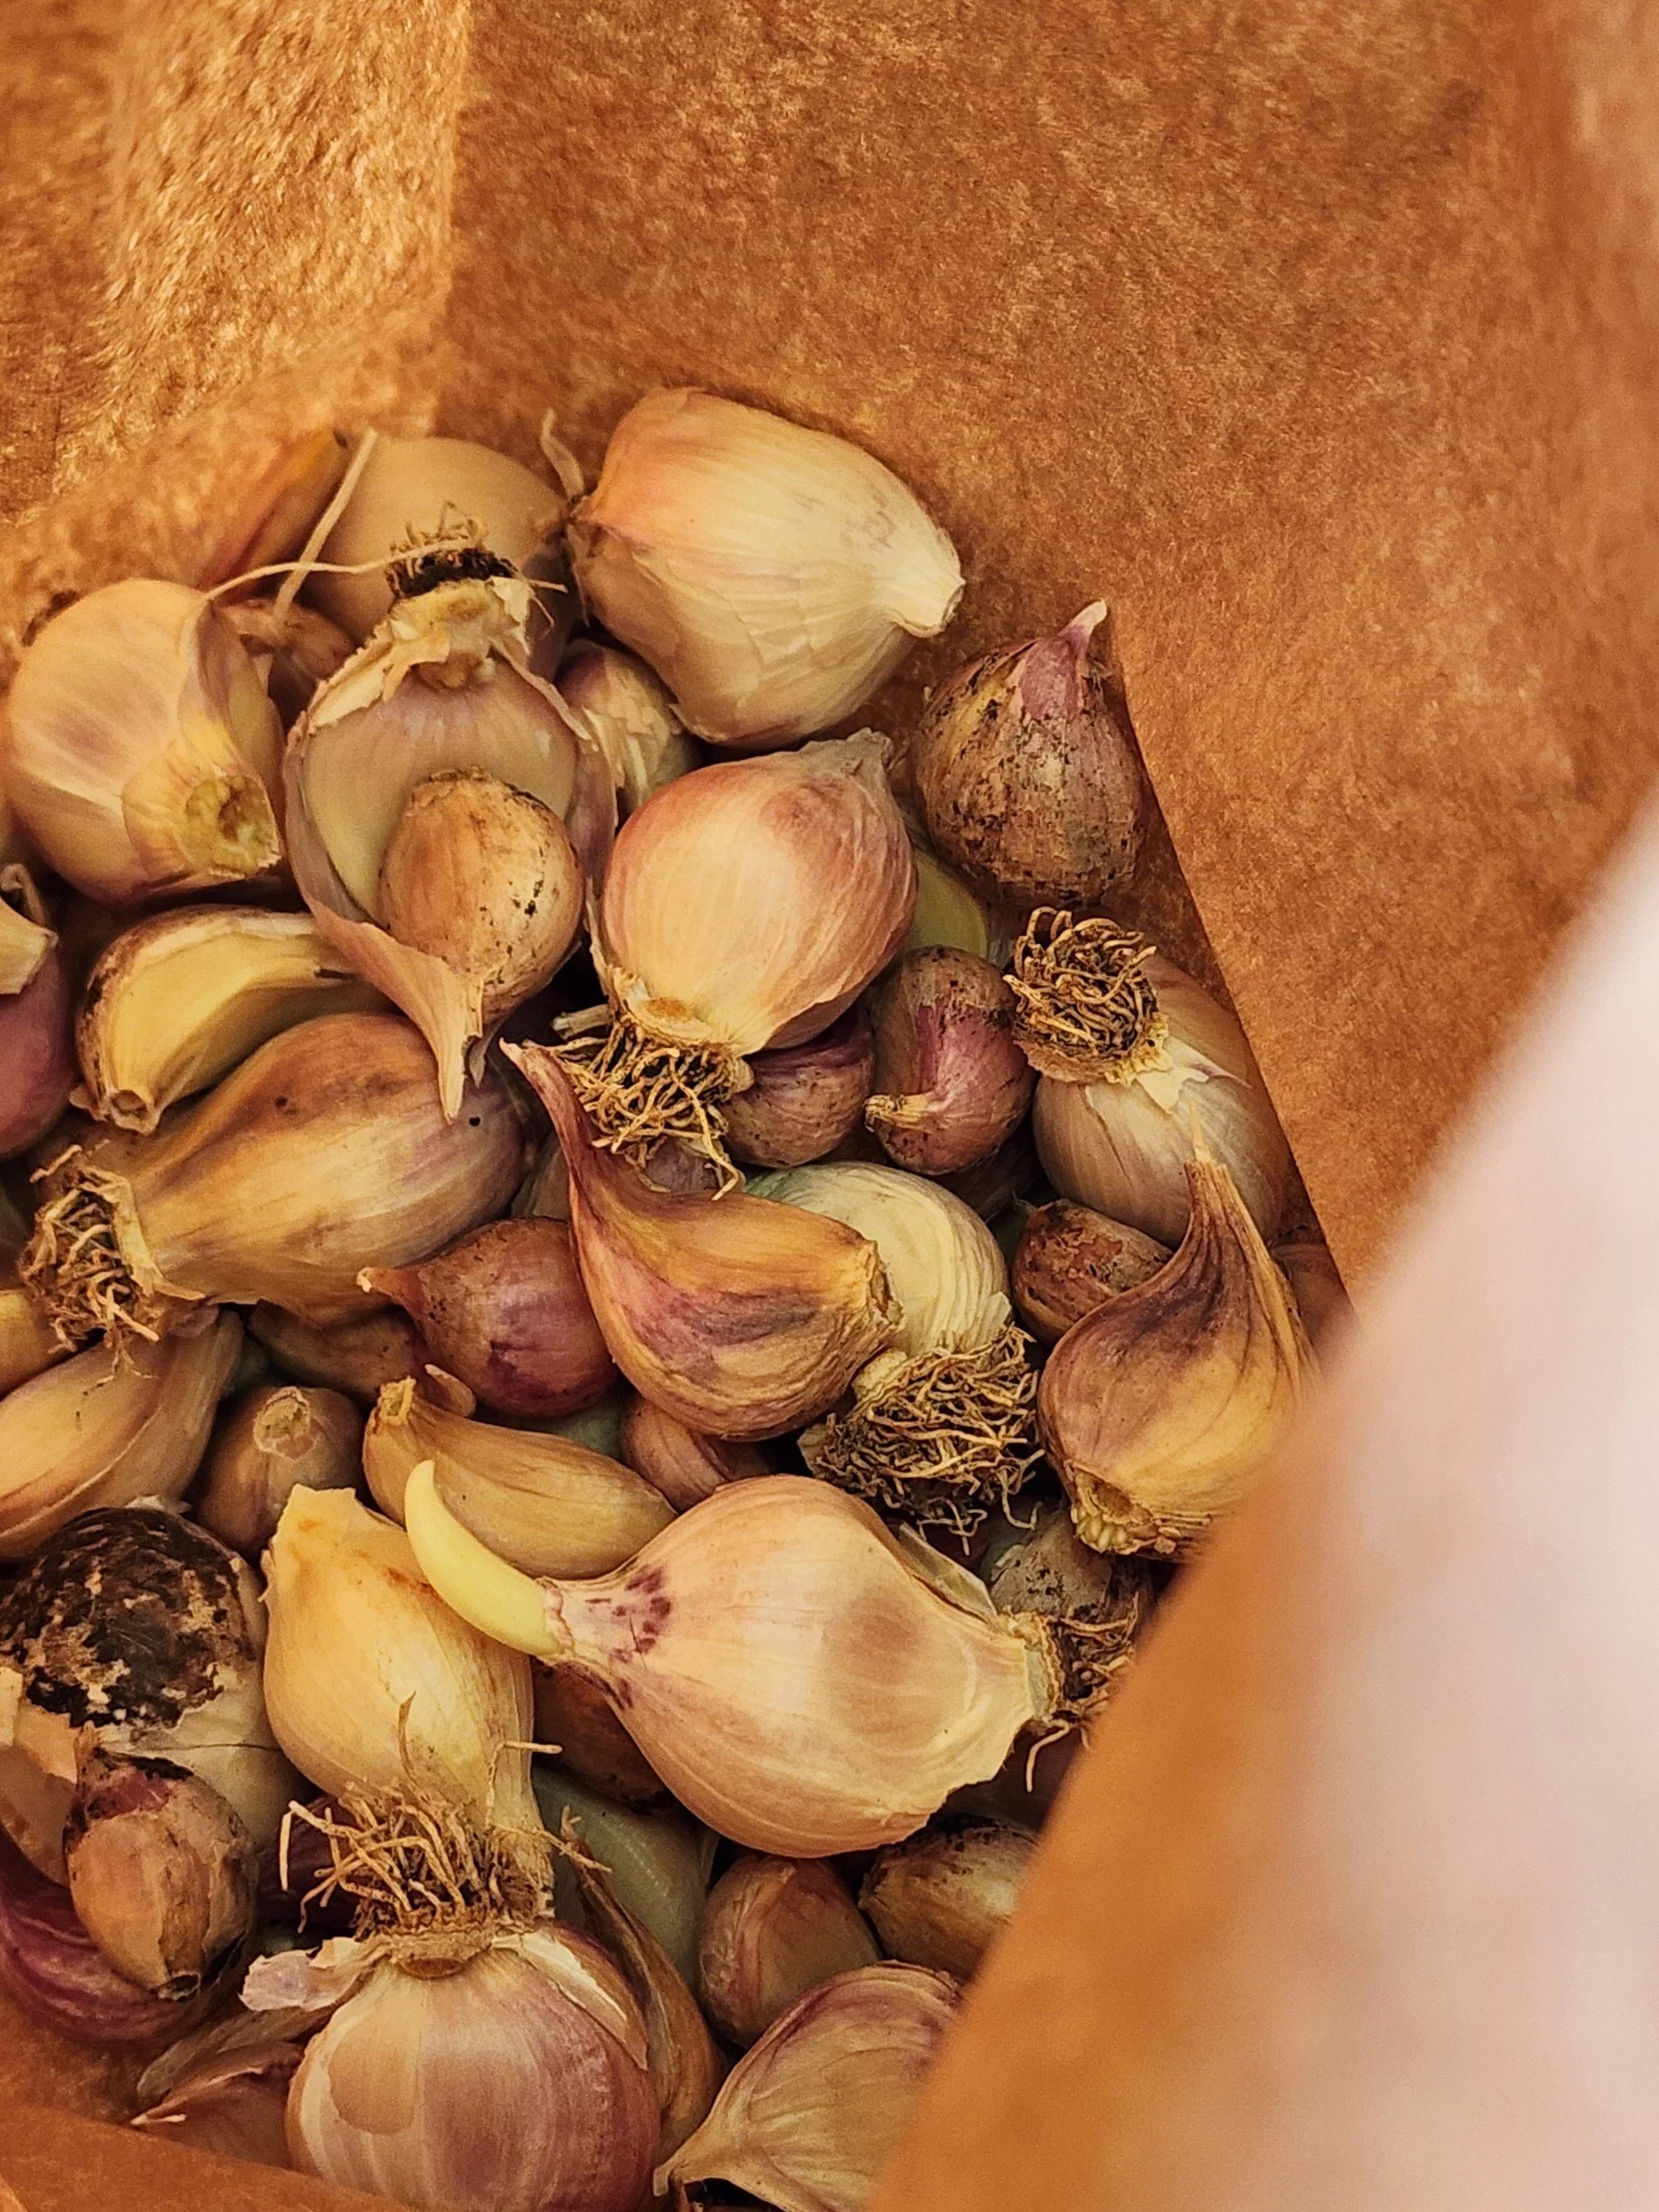
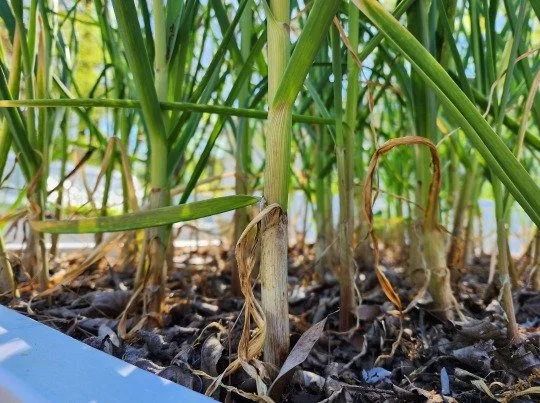
And before you know it... those 3/4lb of garlic bulbs you started with turn into 5lbs of garlic. We shall meet again next year around April or may to discuss the curing of garlic for long-term storage. Until then, happy growing!